
dbx 286s Setup for live stream, podcast, and voice over
· Audio · Accessories · 12:41
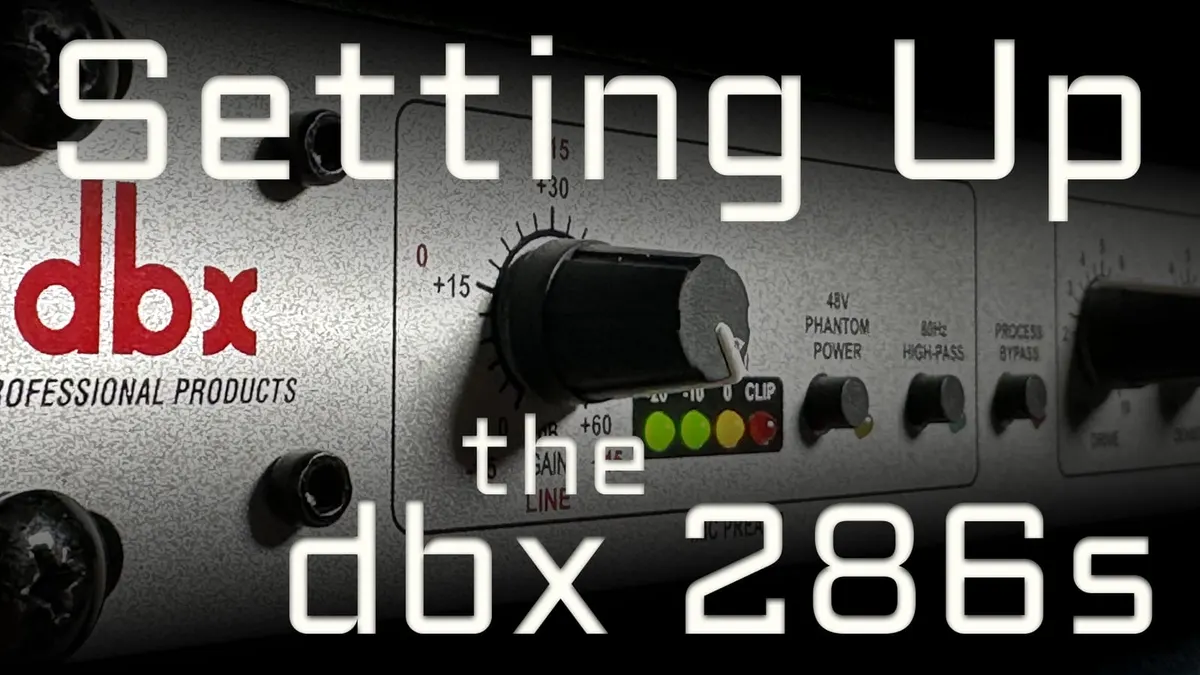
Looking for an easy way to get great broadcast sound in your voiceovers, podcasts, and livestreams every single time? The dbx 286s channel strip can help accomplish that. The 286 is a mic preamplifier and processing chain all in one compact hardware solution and includes such features as +60 dB of gain and +48 V phantom power, as well as a compressor, de-esser, expander/gate, and enhancer. First we’ll show you how to connect your microphone of choice to the dbx and the rest of your audio setup, and then we’ll walk through what each setting does and how to make the most of them with your voice. Let’s see how it’s done!
Some of my other studio gear:
Gear used or mentioned
The links below are Amazon, B&H Photo, Sweetwater, or other affiliate links. As an affiliate, I earn from qualifying purchases.
- dbx 286s Mic Preamp & Channel Strip — B&H, Sweetwater, Amazon
- Universal Audio Volt 276 USB Audio Interface — B&H, Sweetwater, Amazon
- SHURE KSM8 Dualdyne Vocal Mic — B&H, Sweetwater, Amazon
- SHURE SM58 Cardioid Dynamic Mic — B&H, Sweetwater, Amazon
- Mogami XLR Audio Cables — B&H
- Canare XLR Audio Cables — B&H
- Earthworks ETHOS microphone — B&H, Sweetwater, Amazon
- Sound Devices MixPre audio recorder — B&H, Sweetwater, Amazon
- Sennheiser MKH50 microphone — B&H, Sweetwater, Amazon
- Impact Turtle-Base C-Stands — B&H, Amazon
- Aputure LS 600x Pro Bicolor LED Light — Aputure, B&H, Amazon
- Aputure Light Dome III Softbox — Aputure, B&H
- Amaran 300c RGBWW Single-Point LED Light
- Amaran Spotlight SE — Aputure, B&H, Amazon
- Rosco Prismatic Glass Gobo in Cool Lavender — B&H
- Canon C70 Cinema Camera — B&H
- Canon RF 24-70 f/2.8 lens — B&H, Amazon
- Panasonic GH5 camera — B&H, Amazon
- Panasonic 12-35mm f/2.8 II lens — B&H, Amazon
Read the transcript
A walkthrough of setting up the dbx 286s channel strip (mic preamp plus several dialogue processors) for broadcast-quality voice, demonstrated with a Shure SM58 dynamic mic (which needs a lot of gain) into a Universal Audio Volt 276 audio interface via a quarter-inch TRS line-level connection.
Signal flow: XLR out of the 286 to a quarter-inch TRS line input on your interface/recorder; some interfaces without an explicit line-level switch auto-detect line level from a TRS plug. Set the 286’s output knob to zero initially, then adjust final levels on your interface, aiming to peak around -2 to -6 dB, never clipping.
Gain: turn on phantom power only for condenser mics (not needed here); set gain so the meter sits solidly between -10 and 0 dB without hitting the clip LED. Leave the high-pass filter off unless managing low-end rumble like AC noise. Bypass lets you instantly A/B all processing on/off.
Compressor: for dialogue, set Density (how quickly compression releases after you stop talking) around 3-5, starting at 4. Instead of a traditional threshold, this unit has you “drive” the signal against a fixed threshold — turn Drive up until you see roughly 6dB of gain reduction, aiming for a present, leveled voice without over-compressing (expect a bit more audible room tone as a byproduct of the added gain).
Enhancer: Low Frequency Detail adds weight/heft to the voice without getting boomy if not overdone (around 3 on the dial worked well); High Frequency Detail adds crispness/air, also stopped around 3 since pushing further gets piercing and can amplify sibilance.
De-esser: two controls, Frequency (where sibilance sits, usually 5-8kHz) and Threshold (how loud a sibilant sound needs to be before it’s reduced). Crank the threshold temporarily to find where it’s engaging most, then back it off to a light touch — pushing too hard turns sibilance into an unnatural lisp; aim for the green “detecting” LED to flicker lightly rather than the red “6dB reduction” LED lighting constantly.
Noise gate/expander: not a substitute for treating a genuinely noisy room, but useful for a light touch of extra room-tone reduction between phrases. Set Ratio fairly aggressive, then dial the Threshold until the gate LED turns red (engaged) right when you stop talking, without cutting into the tail of your actual words; keep the ratio itself gentle (around 1.5:1) for a light touch rather than obvious pumping.