Record Audio Directly into DaVinci Resolve Fairlight!
· Audio · Post-production & software · 5:13
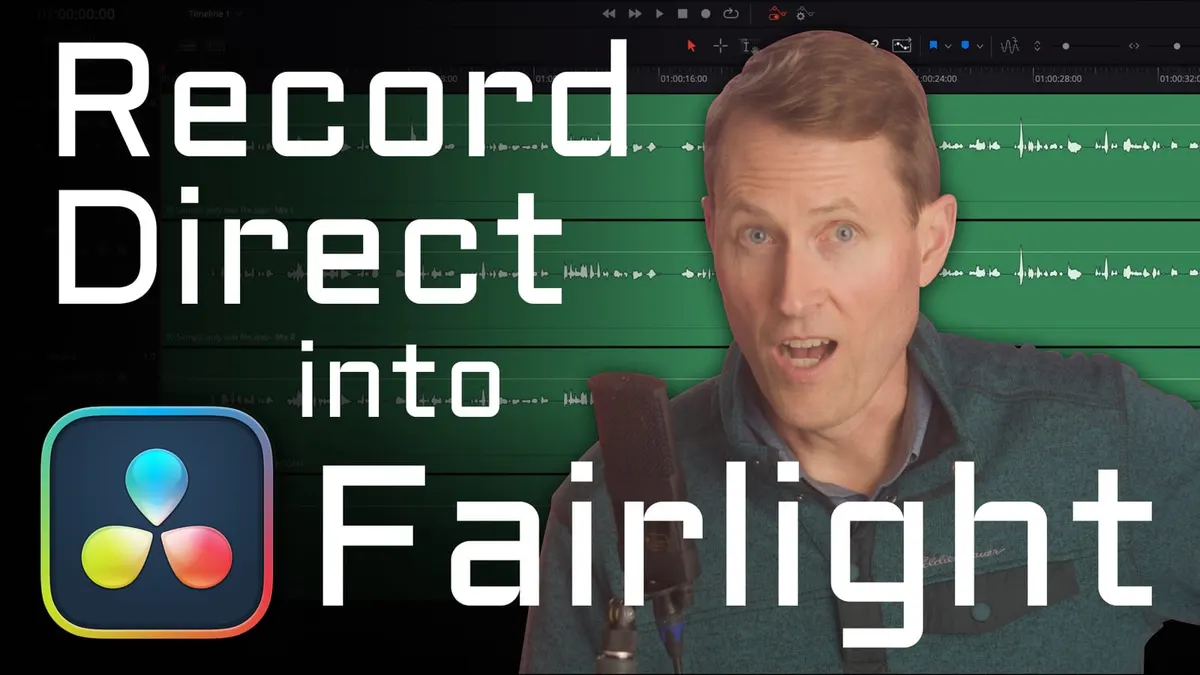
This week’s episode is a quick tutorial covering how to set up and record audio directly into DaVinci Resolve! This can help simplify your voiceover and podcast signal chain and workflow all the way from setup to post-production. First we’ll show you how to configure your system audio settings, then how to properly route your signal into audio tracks in Resolve, and finally walk through how to actually record and make the most of the controls available to you in Fairlight. Let’s see how it’s done!
Some of my other studio gear:
Gear used or mentioned
The links below are Amazon, B&H Photo, Sweetwater, or other affiliate links. As an affiliate, I earn from qualifying purchases.
- dbx 286s Mic Preamp & Channel Strip — B&H, Sweetwater, Amazon
- Universal Audio Apollo X6 Thunderbolt Audio Interface — B&H, Sweetwater, Amazon
- Mogami XLR Audio Cables — B&H
- Canare XLR Audio Cables — B&H
- Earthworks ETHOS microphone — B&H, Sweetwater, Amazon
- Sound Devices MixPre audio recorder — B&H, Sweetwater, Amazon
- Sennheiser MKH50 microphone — B&H, Sweetwater, Amazon
- Impact Turtle-Base C-Stands — B&H, Amazon
- Aputure LS 600x Pro Bicolor LED Light — Aputure, B&H, Amazon
- Aputure Light Dome III Softbox — Aputure, B&H
- Amaran 300c RGBWW Single-Point LED Light
- Amaran Spotlight SE — Aputure, B&H, Amazon
- Rosco Prismatic Glass Gobo in Cool Lavender — B&H
- Canon C70 Cinema Camera — B&H
- Canon RF 24-70 f/2.8 lens — B&H, Amazon
- Panasonic GH5 camera — B&H, Amazon
- Panasonic 12-35mm f/2.8 II lens — B&H, Amazon
Common questions
Why won't my track arm for recording in Fairlight?
The R button flashes red and switches off when Fairlight doesn't know where to get the audio yet. Open the Mixer, click the track's Input, choose Input to open the Patch page, pick your interface's input on the left and the destination track on the right, then click Patch. Arming works after that.
Can I record audio into the free version of DaVinci Resolve?
Yes, this works in both the free and Studio versions.
Do I need a timeline to record audio-only in Resolve?
Yes. Even for an audio-only recording you need a timeline — create one in the Media Pool and set the audio track type to Mono for a single voice, or Stereo for two channels.
Read the transcript
How to record a USB-connected microphone/audio interface directly into DaVinci Resolve’s Fairlight page (works in both the free and Studio versions). First, in system Sound settings, select your audio interface as both input and output (so you can monitor with headphones through the same interface).
In DaVinci Resolve, create a new project, go to the Edit page, and even for an audio-only recording you need a timeline: open the Media Pool, right-click to create a new timeline, and set the audio track type to Mono (for a single spoken-word/voiceover track) or Stereo if recording two channels.
In the Fairlight page, arming the track (pressing R) will initially fail (flashes red then turns off) until you tell Fairlight where to get the audio. Open the Mixer, click the track’s Input, choose Input to open the Patch page, select your interface’s input channel on the left and the destination track on the right, then click Patch — this routes, for example, input 1 on your interface to Audio 1 in the timeline.
Once patched, arming the track (R) works and shows live input; press Record to start, and press Space or Stop to end — you now have a recorded clip in Fairlight. For a stereo recording, you need two microphones (or a stereo mic across two inputs), change the track type to Stereo via right-click on the track header, then patch both the left and right destinations to their respective interface inputs before recording. Hope that was helpful — get out there and make some great sound, and we will talk to you again next week.